✨ How to Do a Bubble Braid – Step-by-Step Guide
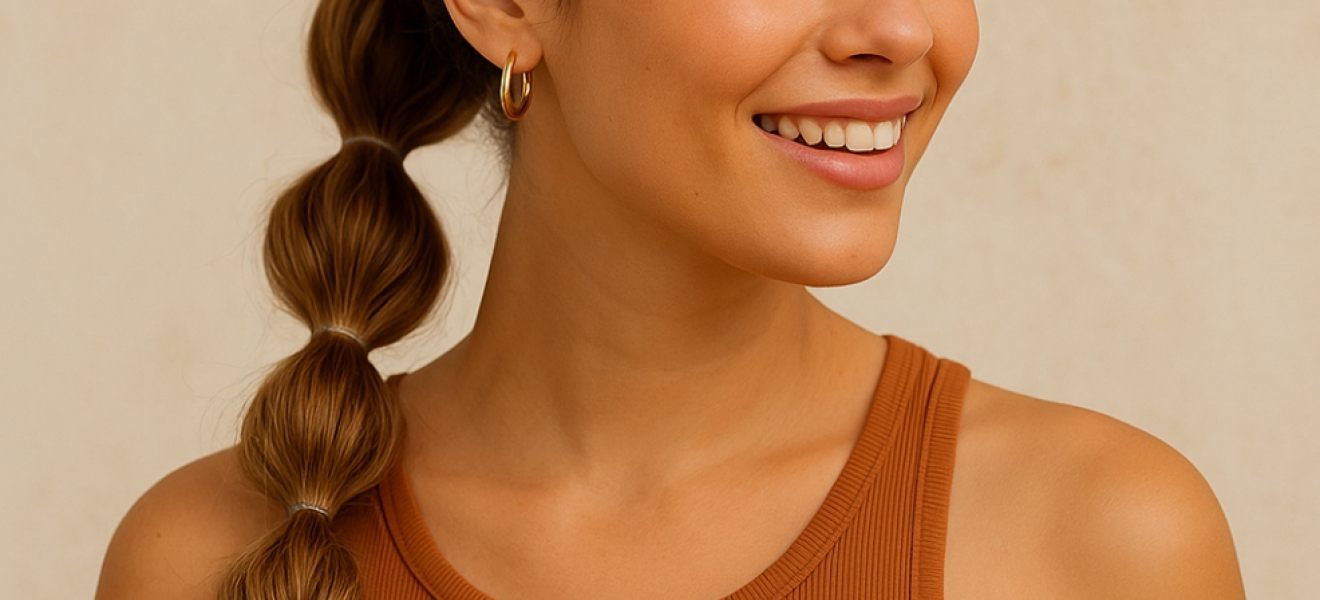
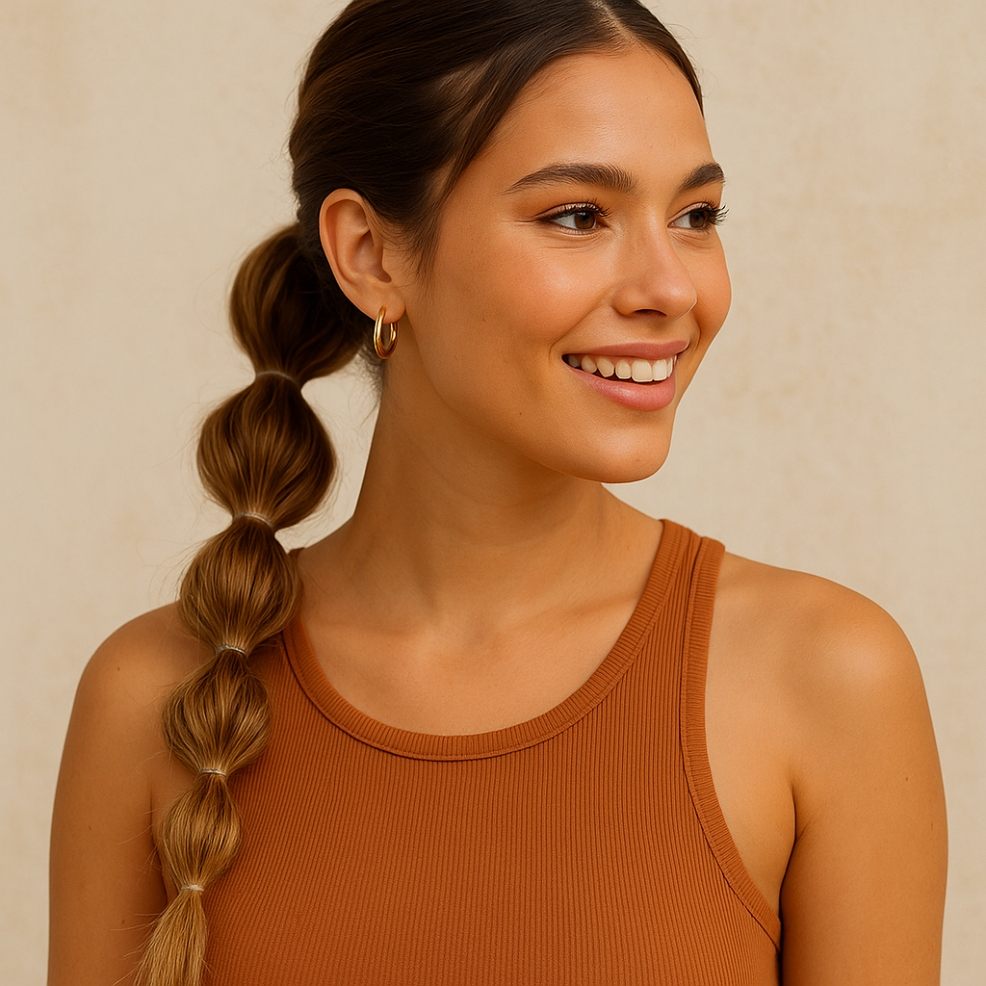
Bubble braids are the perfect blend of cute and practical — they keep your hair out of the way on breezy beach days, but still look trendy and playful. Plus, they’re so much easier than a traditional braid!
Here’s how to create your own bubble braid in just a few minutes:
🧴 What You’ll Need:
-
A hairbrush or wide-tooth comb
-
Clear elastic bands
-
Texturising spray or dry shampoo (optional)
-
Hair oil or serum (optional for sleek finish)
👱♀️ Step-by-Step Bubble Braid Tutorial
Step 1: Brush & Prep
Start by brushing your hair to remove any tangles. You can do this look on straight, wavy or curly hair — textured hair actually makes it even better!
Optional: Add a little dry shampoo or sea salt spray for extra grip and volume.
Step 2: Create a Ponytail
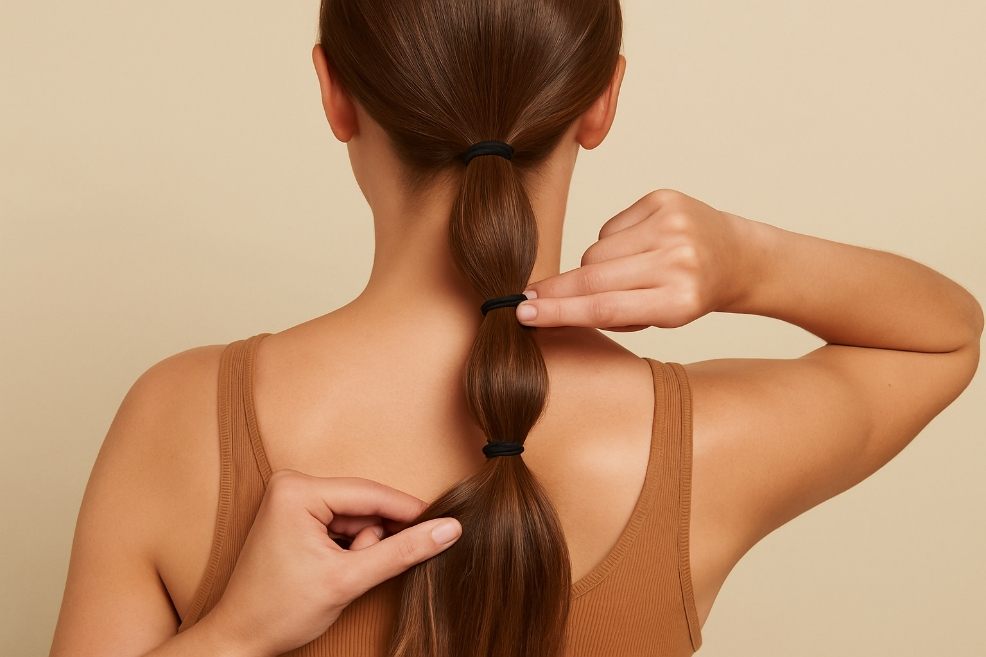
Pull your hair into a high, mid, or low ponytail — whatever suits your vibe. Secure it with a regular elastic.
Step 3: Add Your First Bubble
A few inches down from your first hair tie, add another clear elastic.
Gently tug at the section between the elastics to loosen it and “puff” it out into a bubble shape.
Step 4: Keep Going
Continue adding elastics every few inches, tugging each section into a bubble as you go.
You can do a full-length bubble braid or stop halfway for a ponytail version.
Step 5: Style It Up
-
Gently pull out a few face-framing strands for a softer look.
-
Add a scrunchie or pastel bow at the top for extra beachy charm.
-
Mist with a light-hold hairspray if you want it to last all day.
💡 Quick Tips:
-
Use clear elastics so the focus stays on the bubbles.
-
For a relaxed look, keep the bubbles loose and fluffy.
-
For a sleeker finish, apply a little hair oil before starting.
Want to mix it up? Try two bubble braids, a half-up bubble braid, or a bubble ponytail with waves for extra texture.
Images have been generated by AI


